
Not all of Windows is installed on your PC. Some of it sits on a shelf until you ask for it. So when a guide says “enable this feature”, you need to know where to go, and of course, Windows has two places for that.
Optional features in Settings
Right-click Start, select Settings, then System, then Optional features. Microsoft notes that on some Windows 11 versions it may be under Apps instead. You can also just enter ms-settings:optionalfeatures in Run (Win + R).
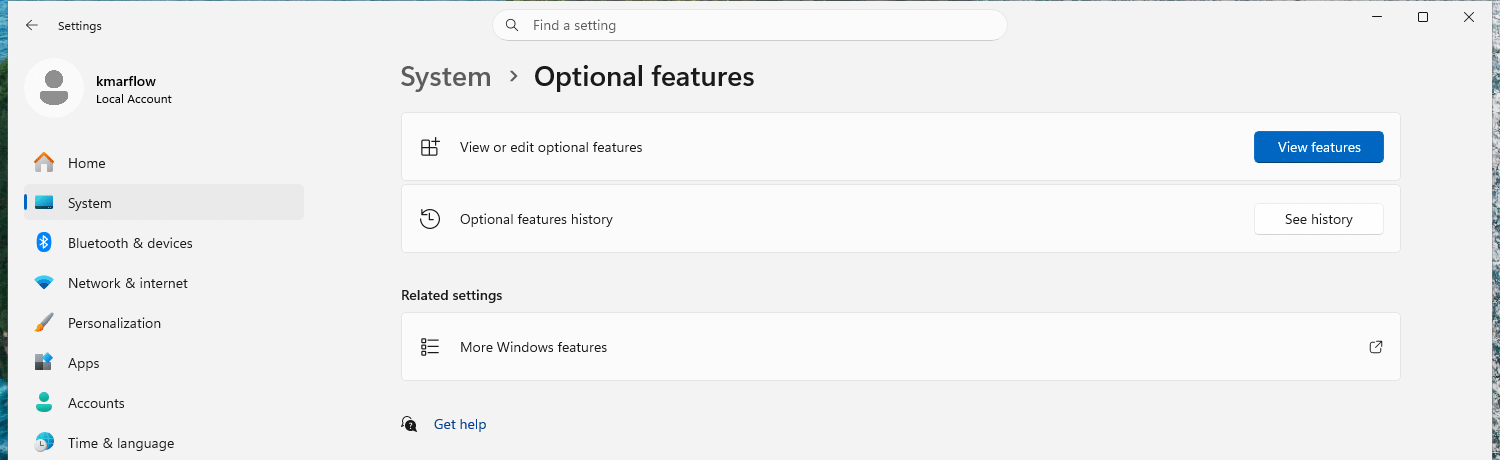
On 25H2 the page is short: View or edit optional features with a View features button, Optional features history with See history, and a link to More Windows features, which we’ll get to in a moment.
Select View features, approve the administrator prompt, and a window opens with what’s already installed, 11 features on my test machine.
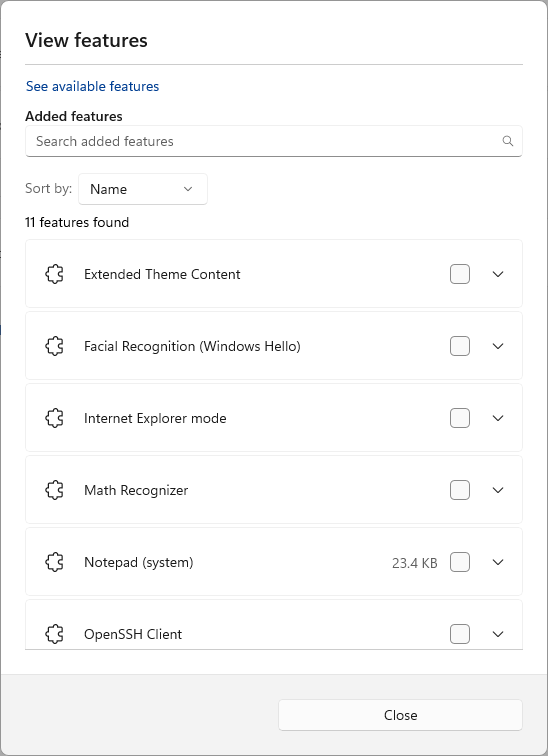
To remove one: tick it, and the button at the bottom becomes Remove.
To add one: select See available features at the top, which switches to the full list with its own search box, and tick what you want. Your PC needs to be online for this, since these come through Windows Update. I went as far as the list, but didn’t install anything from it.
The older one: Windows Features
The second place is older, and easy to mix up with the first. Press Win + R, type optionalfeatures and press Enter. Yes, the command has almost the same name as the Settings page, and no, it’s not the same thing. This opens a dialog titled Windows Features, with a tree of checkboxes.
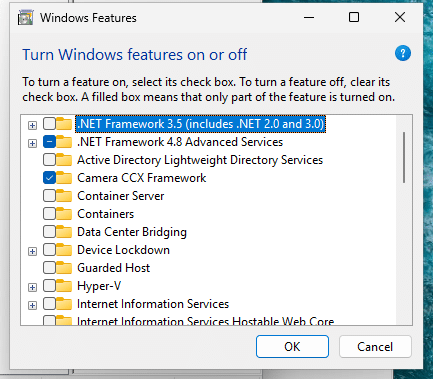
If a guide says “turn Windows features on or off”, this is the one it means. It’s also where you’ll find things like Hyper-V or the Windows Subsystem for Linux. You’ll reach it from the More Windows features link on the Settings page as well.
Not every feature needs a restart: I switched on the Telnet Client on my test machine, from a terminal, and telnet.exe was there right away, no restart asked for. Bigger ones may well ask.
What’s the difference?
Microsoft calls what’s on the Settings page Features on Demand, also known as capabilities. They can be added at any time, usually downloaded through Windows Update. Language resources such as handwriting recognition, and the .NET Framework, are typical examples.
For everyday use, don’t worry too much about it. Follow what your guide says, and if it’s not in the one place, look in the other. On a managed PC the difference does matter, and the Windows Update course gets to that.
Languages
Windows can switch to another language without being reinstalled. Your PC needs to be online for this, because language packs are downloaded.
To add a language:
- Select Start, then Settings, Time & language, Language & region.
- Next to Preferred languages, select Add a language.
- Choose the language and select Next.
- Make sure Language pack is selected under Optional language features, and pick any extras, such as speech recognition.
- To switch to it right away, tick Set as my Windows display language, and select Install.
Windows has to sign you out to apply a new display language, so save your work first.
If you get “Only one language pack allowed” or “Your Windows license supports only one display language”, that’s your edition of Windows talking: it only supports one.
Two side effects to watch for: the first supported language in your list decides what language Microsoft Store apps and websites use, and changing the display language might change your keyboard layout as well. Finding out by typing your password is no fun.
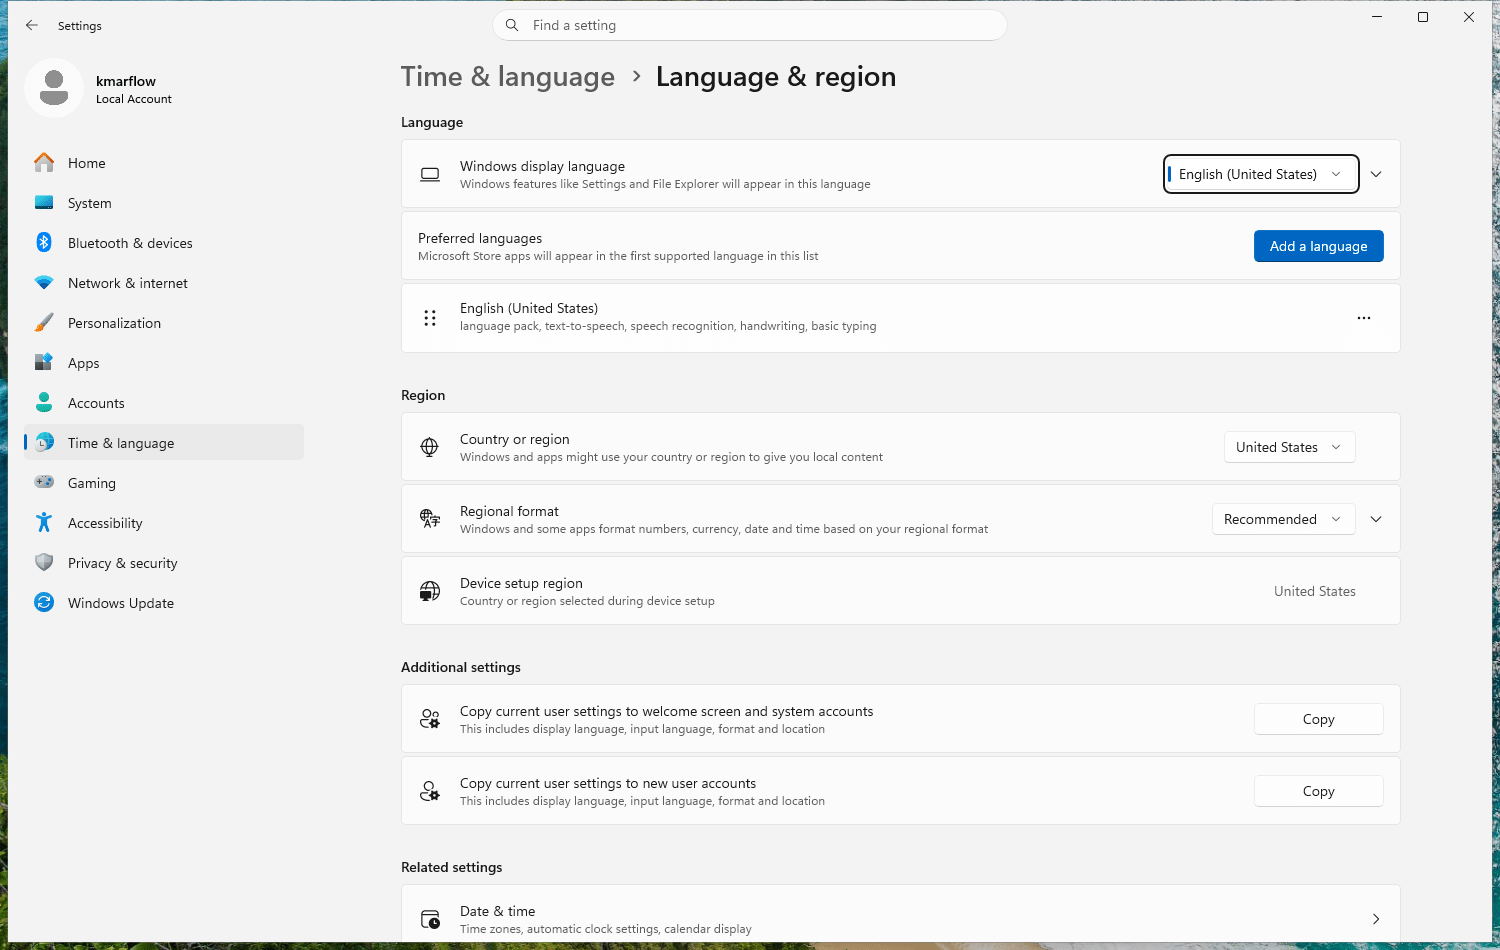
I could confirm this page and its Add a language button on my test machine, but not the rest: installing German ran for over six minutes without finishing, and I gave up on it there. These steps are Microsoft’s.
Keyboard layouts
You don’t need a full language pack to use another keyboard.
- Go to Settings > Time & language > Language & region.
- Select the three dots next to your language, then Language options.
- Under Keyboards, select Add a keyboard.
To switch between them, press Win + Space, or use the language icon in the system tray. This is Microsoft’s description as well, since it wasn’t tested on my machine.
Seeing it all from PowerShell
This part is optional, but if you want the full list in a form you can search, open a terminal as administrator. For what’s on the Settings page:
Get-WindowsCapability -Online | Where-Object State -eq 'Installed'Name : App.StepsRecorder~~~~0.0.1.0
State : Installed
Name : Browser.InternetExplorer~~~~0.0.11.0
State : InstalledThat’s the first two of 46 on my test machine, with another 378 available to add. For what’s in the older dialog:
Get-WindowsOptionalFeature -Online | Where-Object State -eq 'Enabled'FeatureName : WorkFolders-Client
State : Enabled
FeatureName : WCF-Services45
State : EnabledThat’s the first two of 14, with 121 disabled. And with a wildcard, if you’re looking for one in particular:
Get-WindowsOptionalFeature -Online -FeatureName '*Hyper-V*'FeatureName : Microsoft-Hyper-V-All
State : Disabled
FeatureName : Microsoft-Hyper-V
State : DisabledWithout administrator rights, all you get is “The requested operation requires elevation.” I ran these in Windows PowerShell, which is what Windows 11 comes with.
Next, the things that run on your PC without ever showing a window: Services and Task Scheduler.
References
Tested on Windows 11 25H2, build 26200.9711, in a virtual machine: the Optional features page and its View features window, the Windows Features dialog and all commands. Adding a feature from the list, adding a language and keyboard layouts weren’t tested: the language pack hadn’t finished after six minutes, so I stopped it.
- Add, remove, or hide Windows features, Microsoft Learn, last updated 2025-08-18.
- Features On Demand, Microsoft Learn, last updated 2022-08-17.
- Language packs for Windows, Microsoft Support, no date shown.
- Manage the language and keyboard/input layout settings in Windows, Microsoft Support, no date shown.
- Get-WindowsCapability, Microsoft Learn, no date shown.
- Get-WindowsOptionalFeature, Microsoft Learn, no date shown.
Leave a Reply